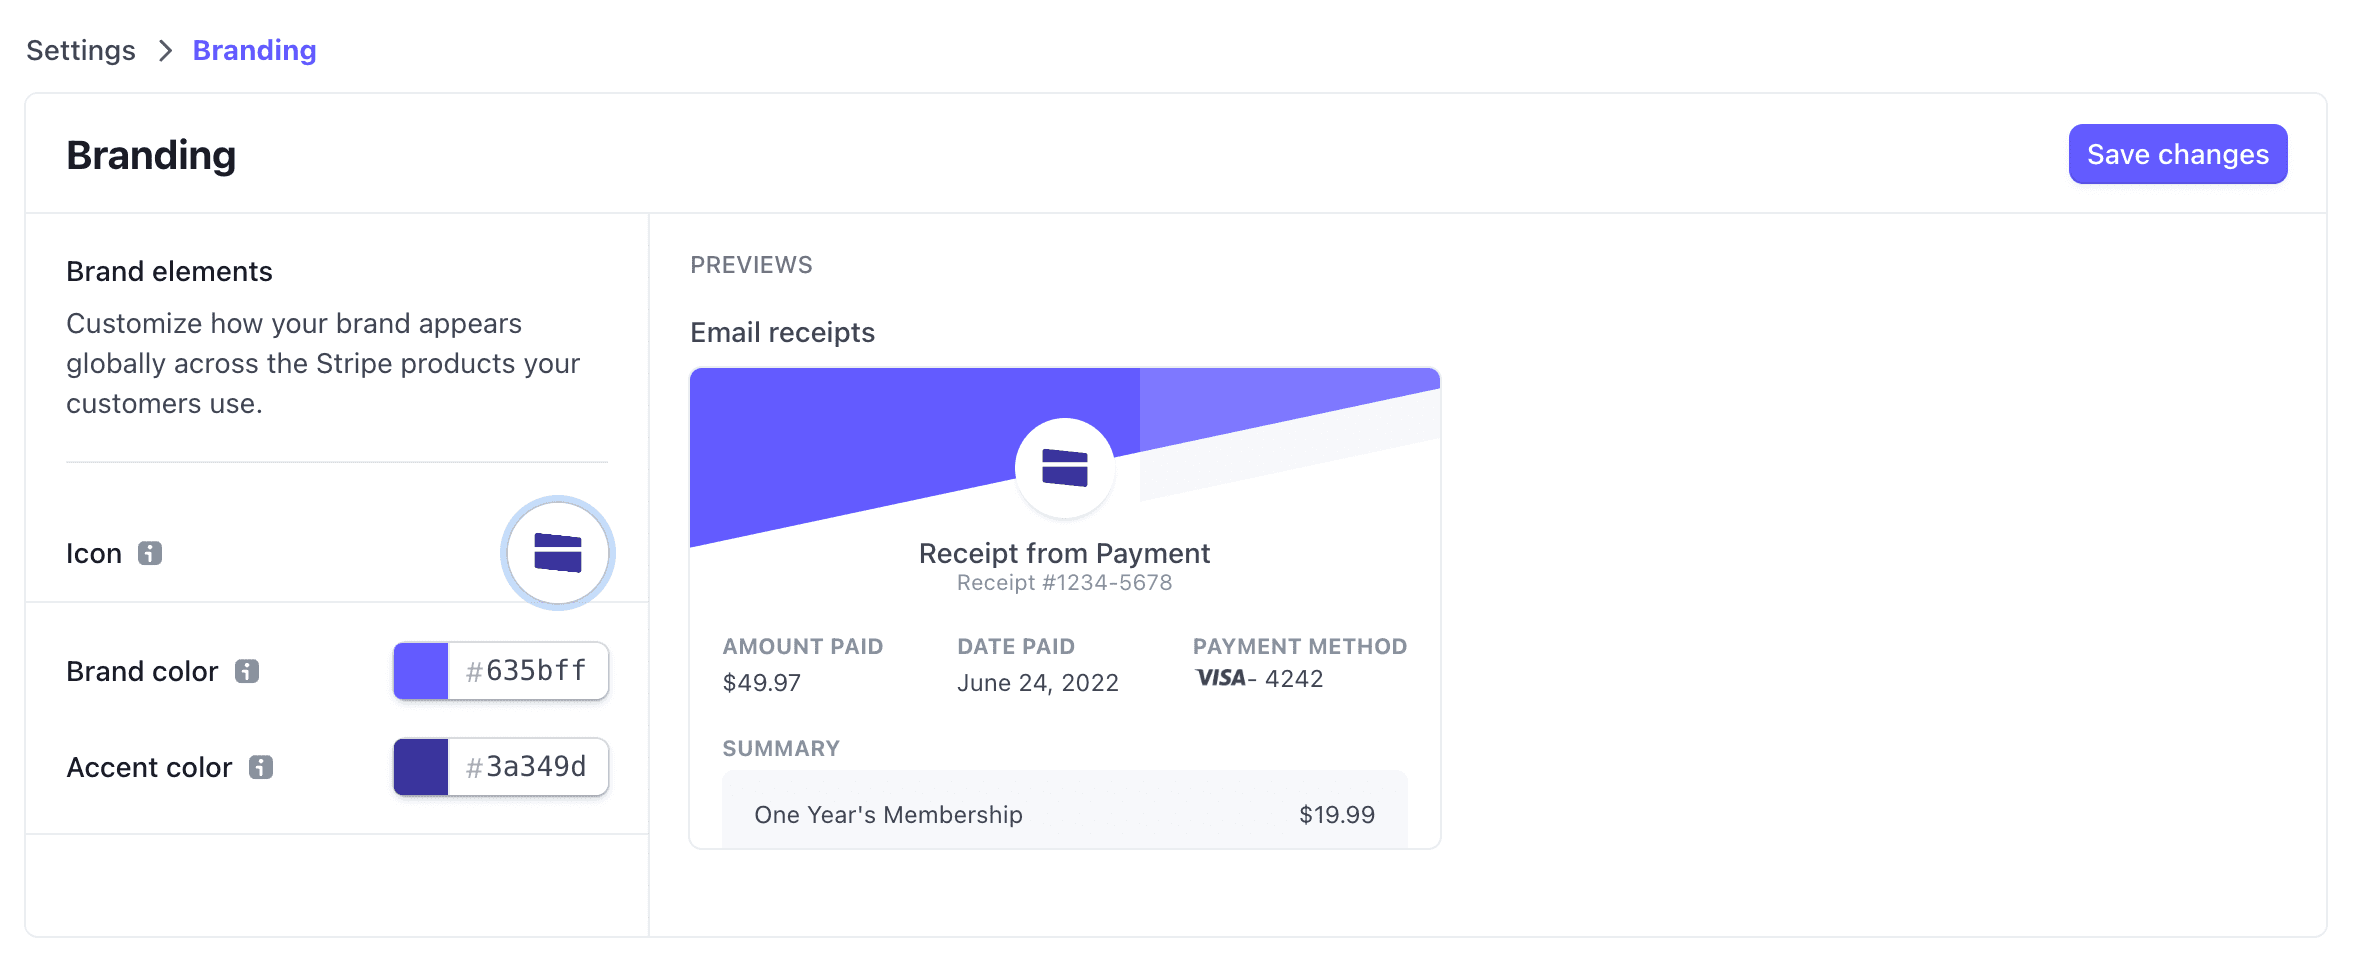
Add your logo and brand colors in Stripe's branding settings, and your receipts, invoices and payment pages match your brand. In the app, choose Use Stripe account color to tint checkout too.
Official documentation: Stripe branding settings
How to get started
Follow these 4 simple steps to get up and running.
- 1
Open your Stripe Dashboard
Log into your Stripe Dashboard and navigate to Settings > Branding. This is where you'll configure all visual elements that appear on receipts, invoices, and payment pages.
- 2
Upload your business logo
Upload a square icon and, if you have one, a wider logo. Stripe takes PNG or JPG files under 512 KB and at least 128x128 pixels. Your logo appears on receipts and invoices sent through Payment for Stripe.
- 3
Set your brand colors
Choose a brand color and an accent color. Stripe uses them on receipts, invoices, and hosted payment pages. Enter hex codes for precise color matching. To tint the app too, open Settings, tap Brand Color and choose Use Stripe account color.
- 4
Add business details
Enter your business name, support email, and address. These details appear on receipts and help customers identify your business. Changes sync automatically to Payment for Stripe.